
Master the art of releasing bath bombs from their moulds with these tips
For many cosmetic creators, one of the trickiest parts of the entire creative process is getting bath bomb mixture out of a mould without causing the design to crack or crumble.
Avoid this frustration by reading below to discover our tips on how you can do it like a pro.
Choose the Right Moulds
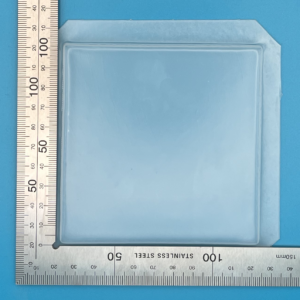
Selecting moulds made from the right materials is crucial for easy release. For example, high-quality LDPE plastic moulds work best as they provide a smooth surface that should allow your mixture to easily slide out.
Perfect your Mixture’s Consistency
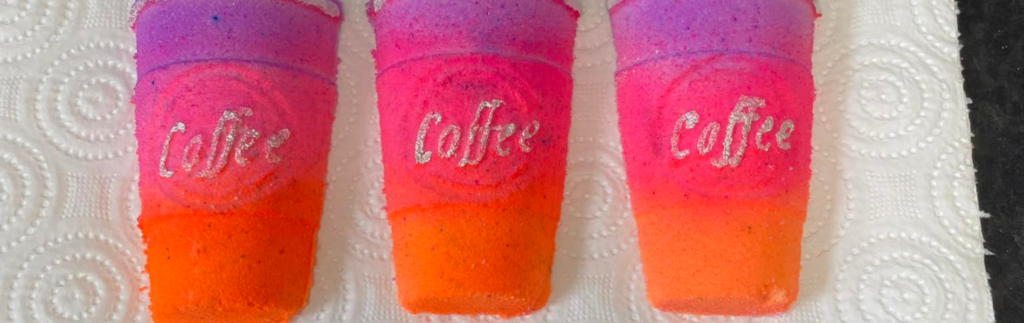
The consistency of your bath bomb mixture plays a significant role in getting a mould to create a decent design. The mixture should feel like damp sand: moist enough to hold together when squeezed but not too wet. If your mixture is crumbling, it’s too dry, so make sure to add more water in small increments to avoid over-saturating.
Pack the Mould Firmly
Pack each half of the mould with the mixture, pressing it down firmly but not too hard as overpacking can make it difficult to release. Fill the mould slightly over the brim to ensure both halves stick together, then align the mould and twist slightly to help the mixture bond.
Gently Tap and Remove
To remove the bath bomb, gently tap the outside of the mould with a Pokey Stick or your fingers, this helps loosen the mixture. Carefully pull apart the mould halves, wiggling slightly if needed.
Allow for Sufficient Drying Time
Finally, to finish the creative process, place the bath bomb on a soft surface, like a folded towel, to prevent flat spots. Allow it plenty of time to dry completely (24-48 hours) to ensure it hardens properly.
-
 #4 Soak Rochford Bath Bomb Assessment£59.99
 -
 Assessment Bath Bomb Ingredient Pack£18.00 – £223.20
 -
 10cm Tile Bath Bomb Embed Tray Plastic Mould£8.00
 -
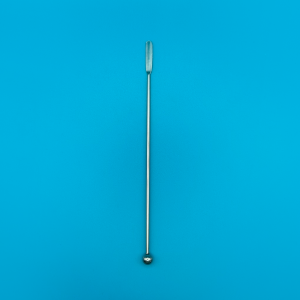 “Pokey Stick” Reusable Stainless Steel Tool£2.00 – £15.00