

Becoming familiar with moulds is a process that takes term to perfect, but here are our top tips
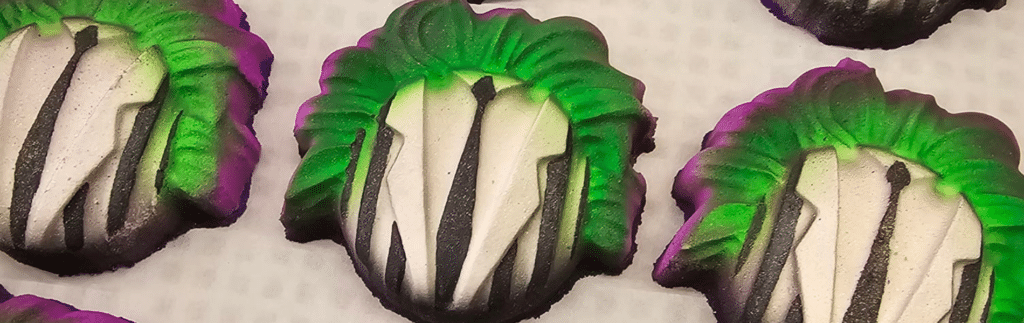
If you’re a new cosmetic creator, learning to use moulds properly is the basis for creating beautiful bath bomb designs.
While it might take a bit of practice, don’t worry. We’ve got you covered! Here are five top tips to help you master using bath bomb moulds as a beginner.
Get the Mixture Right
The perfect bath bomb starts with the right mixture. It should feel like damp sand, not too wet but moist enough to hold its shape when pressed together.
If your mixture is too dry, the bath bomb will crumble. If it’s too wet, it might expand in the mould or fizz too soon.
Overfill Your Moulds
When packing the mould, overfill both halves with the bath bomb mixture, allowing it to mound up slightly.
This ensures you have enough material to press the two halves together firmly, which helps the bath bomb hold its shape and prevents it from cracking.
Press Gently but Firmly
Don’t rush this part! Press the two halves of the mould together firmly, but not so hard that you crack the bomb inside.
Gentle, even pressure helps compact the mixture without damaging the bomb’s delicate structure.
Tap to Release
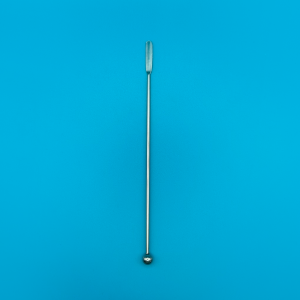
When it’s time to remove the bath bomb from the mould, give the outside a gentle tap with a pokey stick.
This helps loosen the bomb so it comes out easily. Patience is key, so don’t force it if it feels stuck, as this can cause cracks.
Let Them Dry Properly
After demoulding, place your bath bombs in a dry spot to cure for at least 24 hours. This ensures they harden fully and won’t crumble when you handle them later.
Keep them away from humidity to avoid premature fizzing!