Team Soak Rochford
Make Your Own Soap With Soap Moulds: A Step-By-Step Guide
- ,
- , Uncategorised
With a history as colourful and fragrant as the product itself, soap has existed as a household necessity for thousands of years. From luxury beauty brands to hygiene essentials, soap exists in many forms, and serves a multitude of purposes. What’s more, you can even make it yourself!
If you’re hoping to channel a little creative energy and test your skills as an artisan soaper, what better way than making your very own soap at home? Preparing, melting and moulding your own soaps can be a thoroughly enjoyable process from start to finish. Not only is it practical and rewarding, but it is also a mindful and pleasantly tactile experience. That said, it can be tricky knowing where to start.
As brilliant as it would be, soap making isn’t exactly taught in school and figuring out how to do it on your own could take a lifetime. Fortunately, there are plenty of ways to get started without toiling for hours or breaking the bank. Here at Soak Rochford, we’re here to help individuals of all abilities on their journey to soap making excellence.
With the right guidance, you’ll be making your own soap in no time! From bases and pigments to moulds and equipment, read on to discover our guide to the soap making process.
Ingredients
Before we dive into the specifics of the process, it’s important to understand the different ingredients that are used when making soap. There are, of course, a dozen different ways to make soap and methods vary depending on ingredients and desired results. For the purposes of this article, we’ll focus on methods that utilise soap bases as these are best-suited for beginners.
Soap Bases
First on our list of ingredients for homemade soap are high quality bases. Put simply, a soap base is a raw material used to make soap easily at home. These contain all of the raw ingredients required to make soap such as lye, water, glycerin and oil. Soap bases are usually unscented, plain coloured and sold in blocks.
We’ll explore the uses for soap bases in further detail shortly, but it is important to note that they are designed to make the process simple and easy, melting down before being mixed with additional ingredients and poured into a mould of your choice.
Dyes
Next on our list are dyes. As we’re sure you’ve guessed, these are used to give soaps a striking and desirable appearance. Typically, soap makers utilise water soluble dyes owing to their concentrated yet skin-friendly properties. Here at Soak Rochford, our water soluble dyes are not only cost-effective, but they are also high quality. These can be used for a range of applications including bath bombs, soaps, bubble bars, whipped soap and sugar scrubs.
Micas
In addition to the use of dyes in the soap making process, micas are commonly favoured for their incredible aesthetic. Deriving from natural stone minerals, mica powders contain small shiny flakes, giving them a beautiful shimmer that is reminiscent of a fine glitter. Owing to their unique appearance and natural origins, mica powders are among the most popular and safe colourants for soap!
Pigments & Glitter For Soaps
Last on our list of melt and pour soap ingredients are pigments and glitters. These are both ideal for soap makers looking to add a little extra aesthetic appeal to their soaps and can be utilised to create truly unique designs. One of the main benefits associated with pigments are their non-bleed properties. In other words, soaps made using non-bleed pigments will not become dull or run into one another over time.
Moreover, soap makers hoping to add an element of sparkle to their creations often choose to add glitter within melted their wet ingredients or as a finishing touch on bars. Here at Soak Rochfood, our amazingly fine airbrush glitter is incredibly versatile. The high quality powder can be applied using an airbrush gun, paintbrush and even sprayed from a pump bottle! What’s more, they’re food safe and can be used for all manner of applications aside from soap making!
Melt & Pour Soap Process
With a more complete understanding of the ingredients involved in the creation of melt and pour soaps, let’s take a look at the process from start to finish. It is worth noting that since the very first soaps were developed way back in ancient Babylonian times, methods and techniques have evolved dramatically. There is no ‘right’ way to make soap, and many soapers dedicate their lives to perfecting recipes and testing new ingredients and ideas. For the purposes of this discussion, however, we’ll discuss the process involved in making melt and pour soap, using a premade base and a few simple yet effective additions.
Choosing A Base
The first stage in the process of making your soap is to choose a base. Usually, these are clear and free of any fragrance, acting as a blank canvas for your wildest soap making dreams and ideas. Here at Soak Rochford, we’re proud to supply Stephensons Crystal Clear SLS and SLES Free Melt and Pour bases, the perfect starting point for your soap making journey. These vegetable-based bases have a range of desirable qualities, including excellent transparency, good foaming, moisturising properties and neutral odours.
Melting
With your chosen base at the ready, it’s time to melt it down in preparation for moulding. This stage is straightforward and can be done using a microwave or stovetop. To melt your base down using a stove, simply prepare a saucepan with a double-boiler and place your soap inside the top compartment, with the lower section filled with a few cups of water. Make sure the soap base is not exposed to direct heat to avoid burning.
Those using a microwave can simply place the base in a microwavable container and heat on low power until melted. Be sure to stir every 30 seconds or so to guarantee an even melt. Whichever method you use, it is worth remembering that it won’t take long to melt your base, so keep an eye on it!
Dyes, Scents & Extras
With your soap base melted to perfection, now’s the time to get creative, adding in extras such as dyes, fragrances, micas and glitter. If you’re not sure where to start, deciding on a colour scheme or rough design can be useful. Of course, if you’re feeling spontaneous, why not go full-steam-ahead with it and see how it turns out? After all, if you’re using high-quality products and ingredients, you’ll always end up with a beautiful bar of soap at the end.
Pouring & Moulding
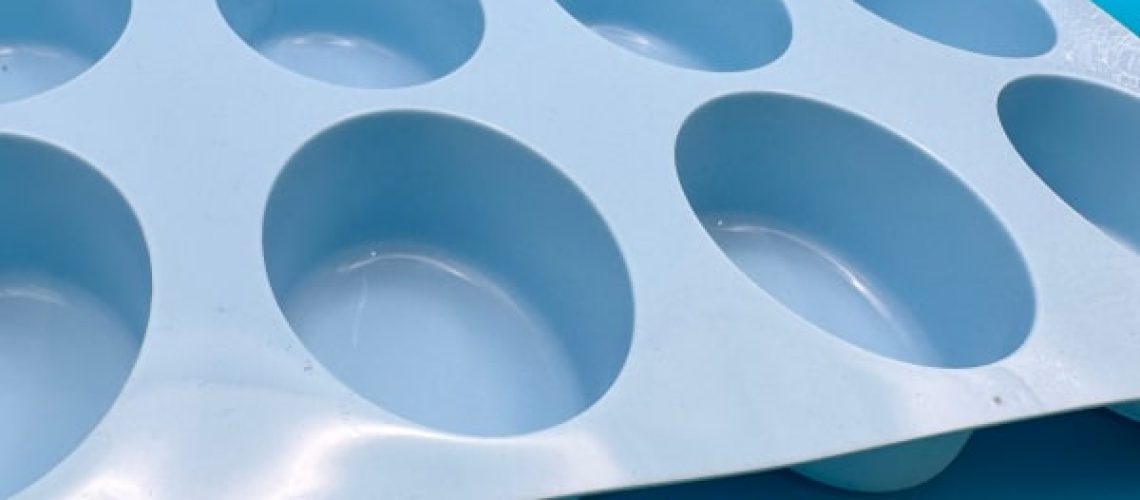
Once you’ve let your creative juices flow and are happy with your melted soap mix, it’s time to pour it into a mould. With a huge selection of moulds to choose from, it’s well worth deciding which you’ll use before you begin the process. It’s no use running around frantically searching for a mould while your base melts!
With your chosen mould at the ready, gently pour your mixture in. Small bubbles are natural, so don’t worry if you notice a few in your mixture as you pour. Sometimes, a light tap on the side of the mould helps to knock the air out. That said, we think that a few air bubbles add a real charm and artisan feel to a soap, so you needn’t view them as imperfections.
Wholesale Soap Supplies From Soak Rochford
If you’re hoping to dip your toes into the exciting world of soap making, there is no better place to start than Soak Rochford. We’re proud to supply a wide range of customers with high-quality soap making equipment and ingredients. From bases, powders, salts and dyes to glitter, moulds and soap making assessments, we’re here to cater to each and every one of your soap making needs.
Whether you’re a complete beginner or soap making pro, we’ve got you covered. Get in touch with a member of our friendly team to discuss your requirements. We’re always happy to help.
